11 Chapter 11 – Desserts
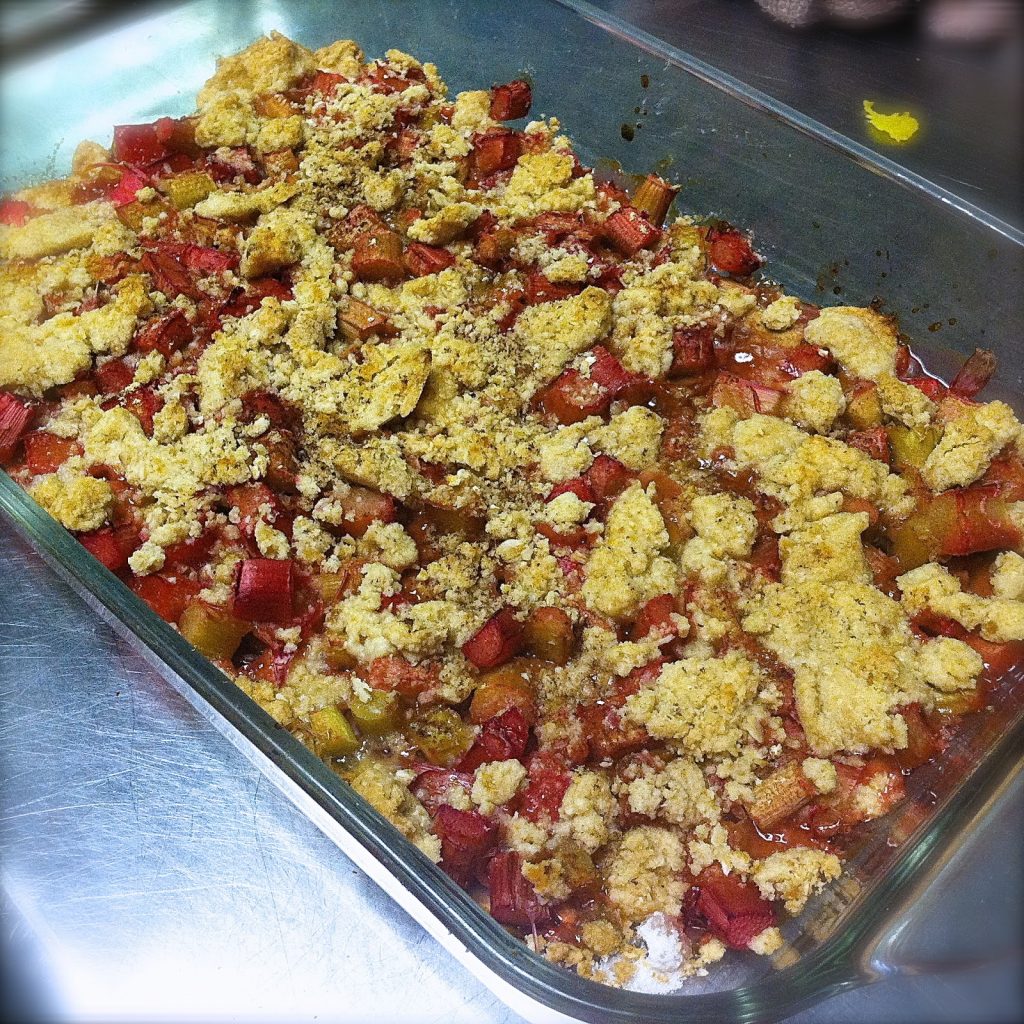
Rhubarb Crisp
Anne Heider
This recipe is more or less my own invention. Everyone’s heard of apple crisp; rhubarb crisp is a variation on the same idea. When I was a kid, rhubarb pie was a special, seasonal (early summer) treat. This crispy topping is easier than pie dough. Moreover, rhubarb grows everywhere, in Massachusetts where I grew up and in Evanston where I’ve lived for 40 years; and it comes back year after year without needing much attention. What a wonderful plant! Watch for it at the Evanston Farmers’ Market in late May and early June.
Ingredients
For the base
- 1 stick butter (1/4 lb.)
- approximately 7 cups rhubarb (enough to thickly cover the bottom of the dish), washed, trimmed, and chopped into approximately 1/2 inch pieces
- 1/2 to 2/3 c. sugar
For the topping
- 1-1/3 c. unbleached white flour
- 2/3 c. brown sugar
- 1/2 tsp. salt
- optional healthy ingredient: 1/3 to 1/2 cup rolled oats
Preparation
- Butter a 9 x 13 inch baking dish.
- Preheat the oven to 375º.
- Sprinkle the sugar over the rhubarb.
- Make the topping by mixing the dry ingredients together in a small bowl.
- With a pastry blender, work the softened butter into the mixed dry ingredients to an even consistency and sprinkle the mixture evenly over the chopped sugared rhubarb.
- Bake about 35 minutes, until nicely browned and bubbling at the edges.
Serve warm with cream or ice cream.
Note: You can prepare the pan and rhubarb ahead of time; with the sugar sprinkled on, it may begin to release some juice, but that’s OK. If the rhubarb is at room temperature, the crisp will bake and brown more quickly than if the rhubarb is cold.
You can also prepare the topping ahead of time, but don’t add it to the pan until just before baking. In fact, you can keep a zip-lock bag of topping in the freezer, at the ready; adjust the baking time accordingly.
*
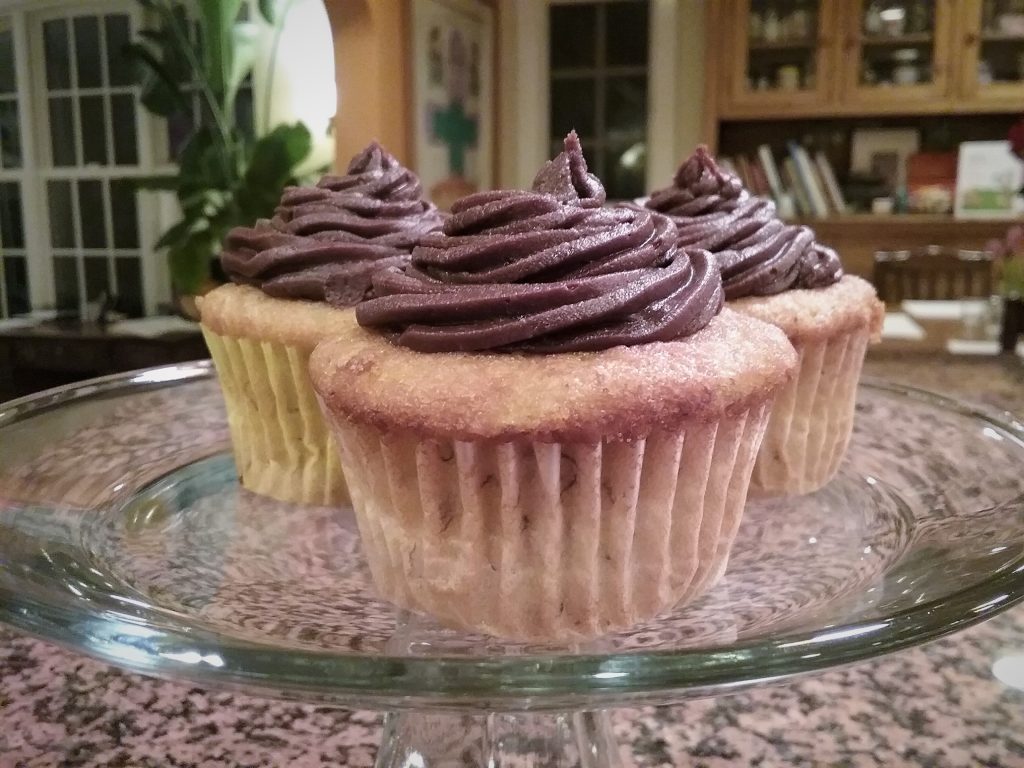
Banana Cupcakes Filled with Chocolate Peanut Butter Frosting
Norma Kanwit
My family enjoys these light and delicious cupcakes; an excellent recipe for when your bananas have ripened a little too much. If frosting with the delicious chocolate peanut butter frosting, make sure no one is allergic to peanuts! The cupcakes are delicious without the frosting as well.
(Makes 18 standard cupcakes)
Ingredients
Cupcakes
- 1-2/3 c. all-purpose flour
- 1 tsp. baking powder
- 1/2 tsp. baking soda
- 1/4 tsp. salt
- 3 medium, ripe bananas (or 2 large)
- 1/3 c. buttermilk
- 1 stick unsalted butter, softened (½ c.)
- 1 ¼ c. sugar
- 2 large eggs
- 1 tsp. vanilla extract
Peanut Butter Frosting (Makes about 2-1/3 cups):
- 1/2 c. creamy peanut butter
- 1 stick (1/2 c.) unsalted butter, divided, at room temperature
- 1 ¼ c. (about 7 oz.) 60% cacao bittersweet chocolate chips
- 3/4 c. powdered sugar
- 1/8 tsp. salt
- 1/8 tsp. ground nutmeg
- 1 Tb. whole milk
- 1 tsp. vanilla extract
Preparation
Cupcakes
- Preheat the oven to 350º. Line muffin cups with paper liners.
- In a medium sized bowl, whisk together the first four dry ingredients. Set aside.
- In a small bowl, mash the bananas with the buttermilk. Set aside.
- In a third bowl (or the bowl of an electric mixer set at medium speed), beat the butter and sugar together until light and fluffy, about 3 minutes. Add the eggs one at a time, beating well after each addition.
- Reduce the speed to low and add the flour mixture alternately with the banana mixture. Begin and end with the flour mixture. Beat just until blended and then stir in the vanilla.
- Using a regular sized ice cream scoop, fill the paper liners with a level scoop of batter. Bake for about 15-20 minutes or until the cupcakes are golden brown and a toothpick inserted in the center comes out clean. Remove the cupcakes from the baking pan and place them on a wire rack to cool. Allow the cupcakes to cool completely before frosting.
Frosting
- In a heavy saucepan set over low heat, melt 1/2 stick of butter and then add the chocolate chips and allow to stand until the chocolate has softened. Whisk the butter and chocolate together until the mixture is smooth and shiny. Let cool at least 15 minutes.
- Beat the remaining half stick or butter (4 Tb.) in the bowl of an electric mixture until it is creamy and fluffy. Add the peanut butter and mix until it is well combined. Beat in the powdered sugar, salt and nutmeg, then add the milk and vanilla.
- Now beat in the cooled (but still warm) butter/chocolate mixture until and all ingredients are well combined.
- Frost the cooled cupcakes with the icing. Alternatively you can use a small cookie cutter to remove a small piece of the cupcake and fill the hole with the frosting, replacing the top and then serving as is or frosted with additional icing.
*
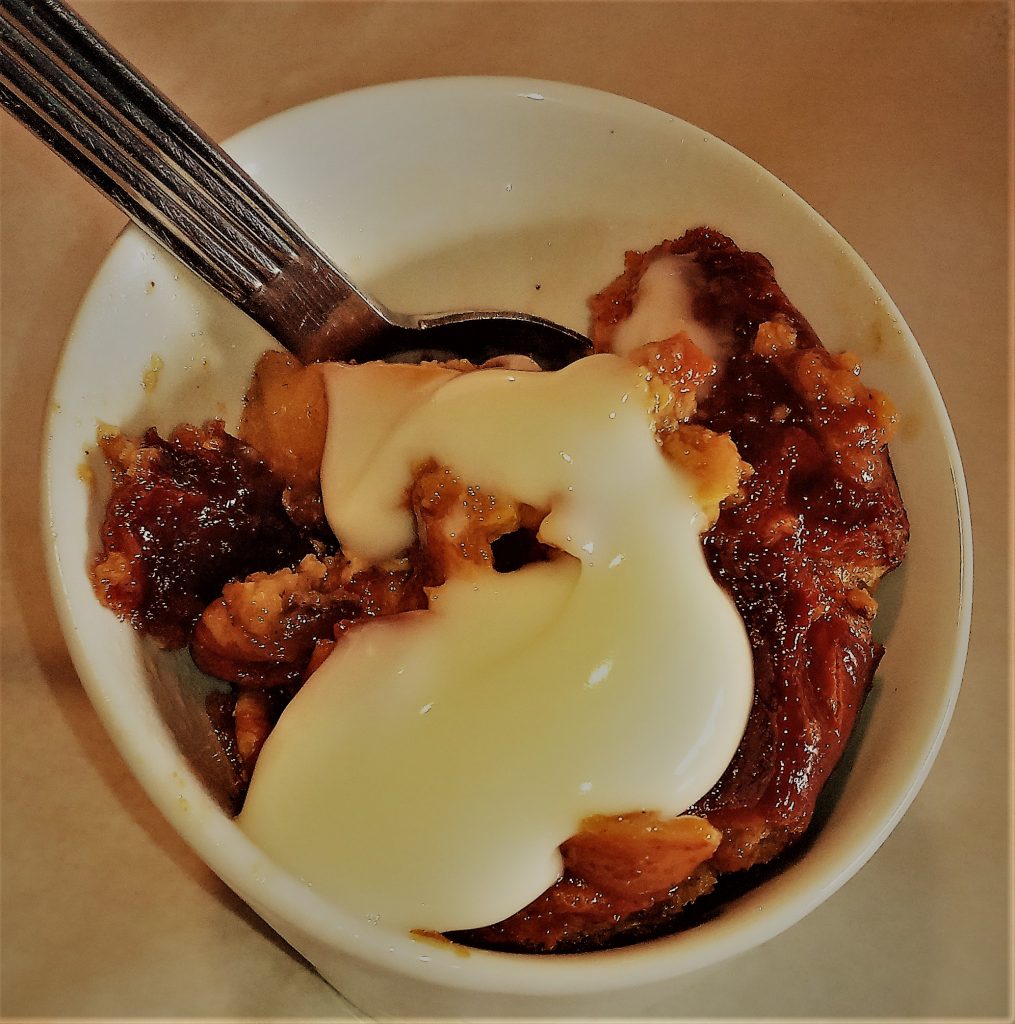
Apple Pie Bread Pudding
Linda Dorman
I work as a baker at an Italian-style bakery/cafe in Chicago and use our signature brioche bread loaf in this recipe. When the bakery closed temporarily due to COVID-19, I had several loaves of bread left over at home and decided to create this recipe. It’s so easy to make and the warm, buttery taste reminds me of my travels throughout Italy. I love to make this dish on Sunday mornings and watch travel videos, dreaming about future trips to my favorite cities. Buon Appetito!
Ingredients
- 6 Tb. unsalted butter
- 1 c. heavy cream
- 1 c. whole milk
- 3 large eggs
- 8 oz. brioche (~1 loaf), cut into 1-inch cubes
- 2/3 c. light brown sugar
- 1/3 c. granulated sugar
- 2 tsp. pure vanilla extract
- 1/2 tsp. ground cinnamon
- 1/2 tsp. kosher salt
- 2 Granny Smith apples, peeled, quartered, cored, and sliced crosswise in ¼” thick pieces
- 1/4 c. chopped pecans
Preparation
- Preheat oven to 350º with the rack set in the lower third of the oven.
- In a large bowl, whisk together the cream, milk and eggs. Add the brioche cubes and gently toss to coat. Set aside at room temperature for 30 minutes to soak.
- Melt the butter in a medium saucepan. Remove from heat and add granulated sugar, brown sugar, vanilla, cinnamon and salt; stir until smooth and well combined. Add the apples and nuts and toss to coat.
- Fold the apple mixture into the bread mixture until well combined. Spoon the bread and apple mixture into a buttered 9” pie plate, then pour the remaining liquid over the top just enough to fill to the edge of the dish. Cover with foil and bake for 45 minutes. Uncover and continue to bake 30 minutes until golden brown and set in the center. Serve warm with crème anglaise, vanilla yogurt, whipped cream or ice cream.
*
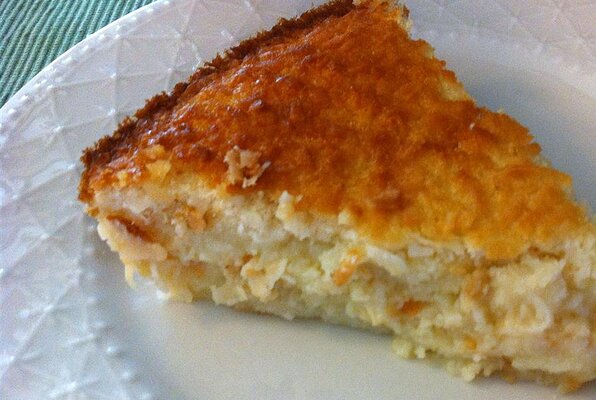
No Crust Coconut Pie
Anonymous
This pie is easily made with ingredients likely to be in your pantry, so it shouldn’t add too many things to your shopping list. Note: the recipe makes two pies.
Ingredients
- 1 ¾ c. sugar
- 1/2 stick butter (¼ c.)
- 1/2 c. self-rising flour
- 4 eggs, well beaten
- 2 c. milk
- 1 tsp. vanilla
- 7 oz. coconut
Preparation
- Preheat oven to 350º.
- Mix all ingredients together and pour into 2 well greased 9″ pie plates.
- Bake about 40 minutes or until set and lightly browned. The crust forms on its own, and the pie comes out beautifully when cooled.
*
Black Rice Pudding

- 1 c. black rice
- 1/2 c. sugar (brown sugar preferable)
- 1/2 c. milk (optional)
- 4 Tb. shredded coconut
- 2 Tb. ghee
- Cardamom powder (optional)
- Nuts (cashew, pistachio, raisin)
- Wash 1 cup of black rice and soak with 3 cups of water overnight or 6 to 8 hours.
- Put the soaked rice and the water it was soaked i into a pressure cooker and cook it for about 4 whistles.
- Once the pressure has been released, place the cooker over a medium flame and stir until the rice gets soft. If there is too much water, simply drain off the excess.
- Add milk and stir for a minute. If you are not using milk then skip this step and continue to step 5.
- Add sugar and stir for about 5 minutes.
- Garnish with shredded coconut, ghee and roasted nuts (roast the nuts in ghee to get a nice aroma) and a pinch of cardamom powder.
*
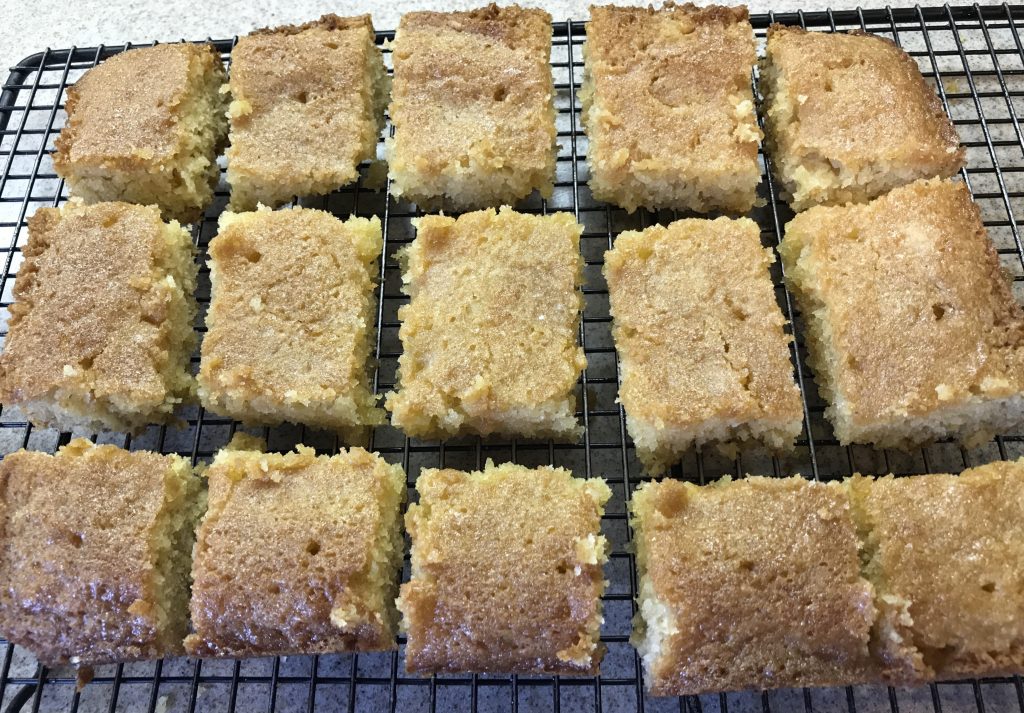
Lemony Drizzle Cake
Penelope Sachs
Lemon Drizzle Cake is comfort food for me. I’m originally from England and this is a staple of teatime. All bakers in The Great British Baking Show know this recipe. It is not a flamboyant cake but a homey cake that goes well with a cup of tea. The top should be slightly crunchy from the sugar coating, but the inside moist from the extra lemon juice. This cake reminds me of the English countryside, my parents’ home, and family.
 Prep Time: 15 mins Cook Time: 20 mins
- 6 oz. butter (or 1 ½ sticks=¾ c.), at room temperature
- 6 oz. brown sugar (1 cup packed)
- 2 eggs
- 6 oz. self-rising flour (I cup + 2 tablespoons) or use all-purpose flour and add 1/2 teaspoon baking powder and 1/2 teaspoon baking soda
- 1/2 tsp. baking powder
- Zest of one or two lemons
For the topping
- 4 oz. granulated or super-fine sugar (1/2 cup)
- 1/4 c. fresh lemon Juice
Preparation
- Heat oven to 350º.
- Grease and line a 6″ x 8″ baking tin with parchment paper.
- Cream butter and sugar in a large bowl until light and fluffy, then add eggs one at a time, cream well.
- Fold in the lemon zest and sift in flour and baking powder and fold in with a metal spoon.
- Bake for 20 minutes. Test that until it springs back when touched in the middle. It may need another 5 minutes.
- When still hot, prick holes in it with a fork and pour over sugar mixed with the lemon juice.
- Cut into squares after 10 minutes and let cool completely on a wire rack.
*
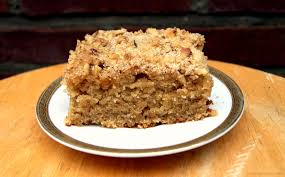
Cowboy Coffee Cake
- 2 ½ c. light brown sugar
- 2 ½ c. flour
- 2/3 c. dairy or vegan butter
- 1 Tb. apple cider vinegar or red wine vinegar
- 1 c. dairy OR plant-based milk
- 2 eggs, beaten OR 2 flax eggs (2 tablespoons ground flax seed stirred into 6 tablespoons water, let sit for 10 minutes and stir again before using)
- 2 tsp. baking powder
- 1/2 tsp. baking soda
- 1/2 tsp. salt
- 1 to 1 ½ Tb. ground cinnamon
- 1/4 tsp. nutmeg, optional (more or less to taste)
- Pinch of cloves, optional (more or less to taste)
Preparation
- Grease and flour the bottom and sides of a 9 x 13 pan. Preheat oven to 350º.
- In a large bowl, beat together butter and brown sugar until thoroughly blended and creamy. With pastry blender, two knives or your fingers, work flour into the mixture until it is the texture of bread crumbs. Set aside 1/2 cup of crumbly mixture.
- In a small bowl or measuring cup, add vinegar to milk, stir gently and let stand until sour, 2-3 minutes.
- Stir baking soda, baking powder, salt and spices into large bowl of crumbly mixture and mix well. Add dairy or flax eggs and soured milk to mixture, stirring just until mixed (better will be loose and lumpy). Pour into prepared pan and smooth over. Sprinkle reserved 1/2 cup of crumbly mixture over the top.
- Bake 15-25 minutes or until toothpick inserted comes out clean (cake will spring back when touched lightly). Slice and eat when cooled, if you can wait that long. Enjoy!
*
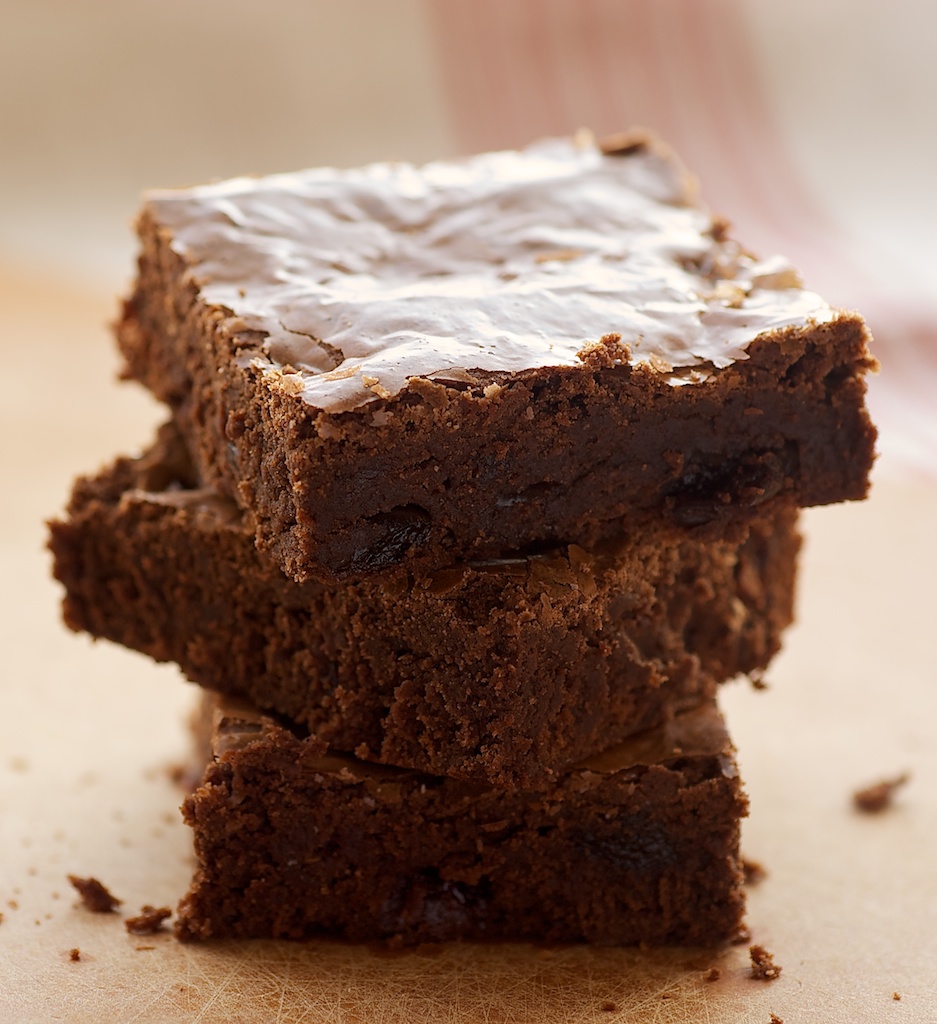
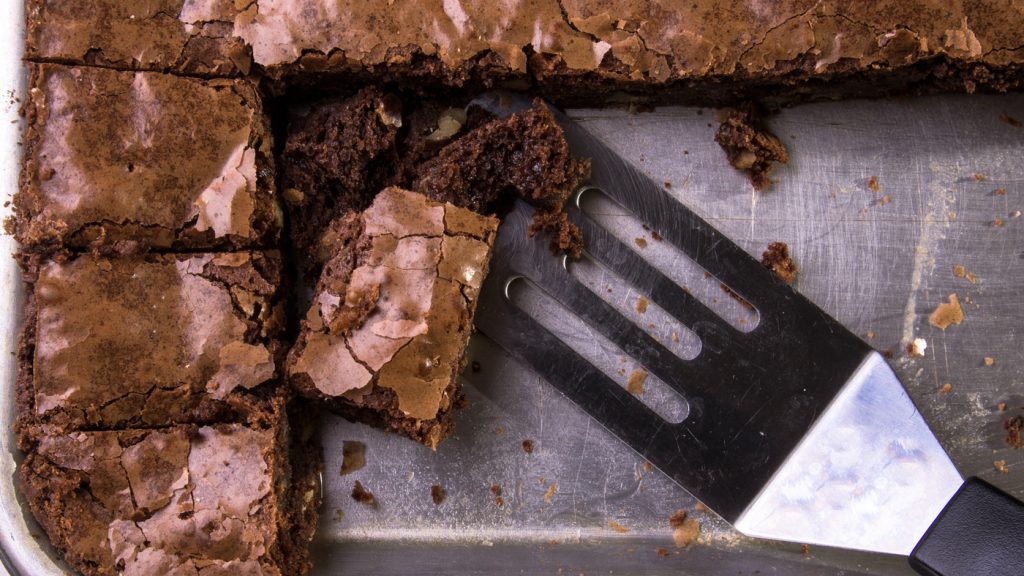
One Pot Brownies
Nancy Engel
Chocolate is my comfort food-cake, cookies, brownies, you name it. I have dozens if not hundreds of recipes for each. I like recipes I can play with. Here is the easiest brownie recipe: easiest to make, to double, to mix add-ins.
Ingredients
- 3/4 c. flour
- 1/4 tsp. baking soda
- pinch of salt
- 1/3 c. butter
- 3/4 c. sugar
- 2 tsp. water
- 2 eggs
- 2 c. semi-sweet or bitter-sweet chocolate chips, divided
- 1 tsp. vanilla
Preparation
- Preheat the oven to 325º.
- Prepare a 9 x 9 pan by lining it with foil or spraying with cooking spray. If you double the recipe, use a 9 x 13 pan or spread thinly in a half sheet pan.
- Combine the flour, baking soda and salt. Set aside.
- In a saucepan, place the butter, sugar and water.
- Bring the mixture just to a boil and remove from heat.
- Add the chocolate chips and vanilla. Stir until smooth.
- Add the eggs, one at a time, beating well.
- Gradually blend in the flour mixture.
- Stir in the remaining cup of chocolate chips (here you can use milk chocolate, bittersweet, semi-sweet, or white chocolate chips). If desired, you can add other options such as toasted walnuts, chopped up candy bars, toasted or plain coconut, a tablespoon of grated orange zest, etc. Let your imagination run wild!
- Spread the batter in a greased pan.
- Bake 30-35 minutes, changing the time if you are using other than a 9″ square pan.
- Let cool. Cut. Enjoy.
*
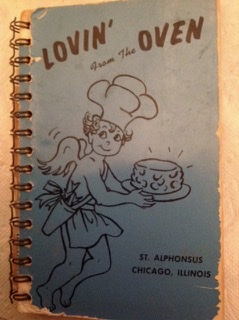
Easy, No-Fail, Old Fashioned Carrot Cake
Diane Melnick
This recipe came from my Cousin Bernice’s 1964 “Lovin’ from the Oven” cookbook which I inherited when I got married in 1970.
Ingredients
For the cake
- 2 c. grated carrots (about 6)
- 1 ½ c. oil
- 2 c. white sugar
- 4 whole, well-beaten eggs
- 3 c. flour
- 2 tsp. baking soda
- 3 tsp. baking powder
- 2 tsp. cinnamon
Frosting (optional)
- 2 Tb. butter or margarine
- 4 oz. cream cheese
- 1 ½ c. powdered sugar
- 1 tsp. vanilla
- 1/8 c. milk or cream, or a bit more for spreadability
Preparation
Cake
- Preheat the oven to 350º. Grease and lightly flour a tube pan.
- Combine the grated carrots, oil, sugar and eggs.
- Sift together the flour, baking soda, baking powder, and cinnamon and add to the batter. Mix well.
- Bake for 1 hour. Do not open the oven the first 45 minutes. After that, check for doneness by seeing if the cake springs back when touched.
- Cool thoroughly before taking the cake out of the pan.
- You can stop here or top with cream cheese frosting.
Frosting
- Cream together the butter and the cream cheese until well mixed.
- Add the vanilla and powdered sugar, and then add the milk until the mixture is spreadable. You may need additional milk if the mixture is too stiff.
*
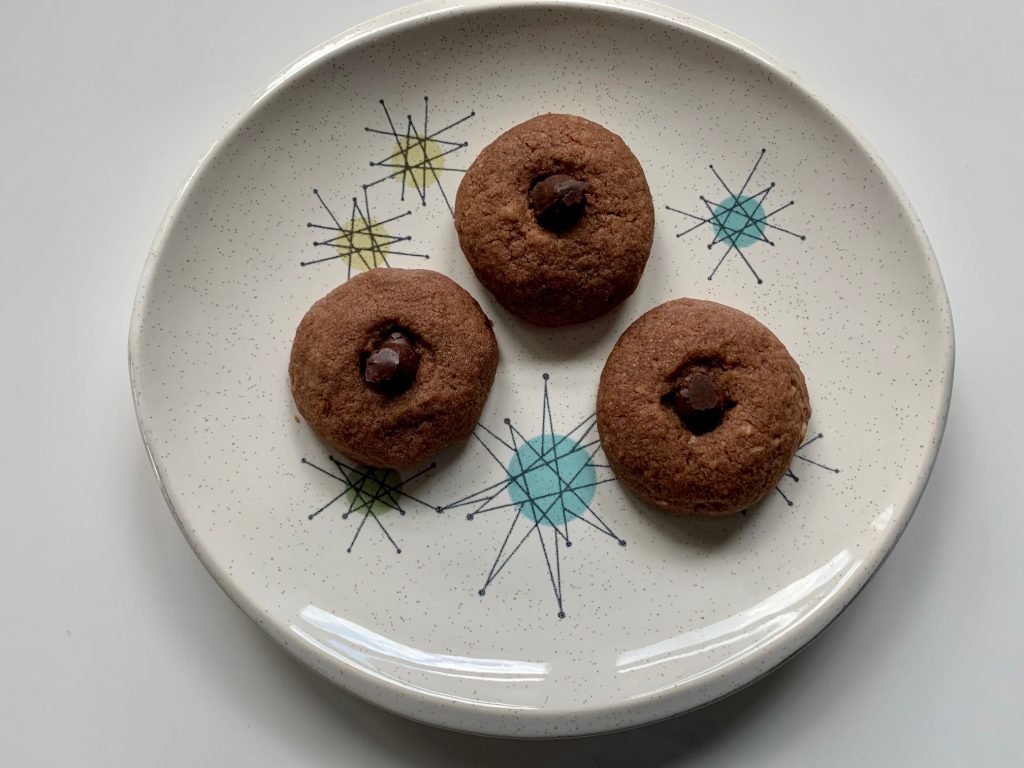
“One-Ups” Cookies
Ingredients
- 3/4 lb. butter or margarine
- 1 c. sugar
- 1 egg
- 1/4 tsp. salt
- 1 tsp. vanilla extract
- 3 c. flour
- 1/2 c. cocoa
- 1 ½ c. walnuts or pecans, chopped
- chocolate chips
Preparation
- With bowl or hand mixer, cream butter and sugar.
- Add vanilla and egg.
- Combine flour, cocoa, salt, and nuts, then add to wet ingredients a little at a time.
- Roll dough into 1” balls and top with two chocolate chips, one pressed into the center pointed down, and the second on top of the first, pointed up.
- Bake at 350º for 12 to 15 minutes.
Note: This is a large recipe and makes 7-8 dozen cookies. Can be halved for smaller amounts, but just use the whole egg.
*
Mom’s Chocolate Chip Cookies
Ingredients
- 1 c. unsalted butter room temperature
- 1/2 c. brown sugar
- 1/2 c. white sugar
- 1 egg
- 1 tsp. vanilla (best if Mexican vanilla)
- 2 c. flour (unsifted)
- 1/2 tsp. salt
- 1/2 tsp. baking soda
- 2 c. broken pieces walnuts or pecans
- 1 package Ghiradelli 60% Bittersweet Chocolate Baking Chips
Preparation
- Preheat oven to 375º.
- Cream butter and when fluffy, add sugars and beat together until well combined.
- Add egg and beat until mixed thoroughly and then add vanilla and mix.
- Sift together flour, baking soda and salt and add to batter. Stir until combined.
- Add nuts and baking chips.
- Use a cookie scoop or tablespoon measuring spoon to drop the batter onto baking sheets lined with parchment paper.
- Bake for 12 to 15 minute,s turning once after 8 minutes. Cool on wire racks.
*
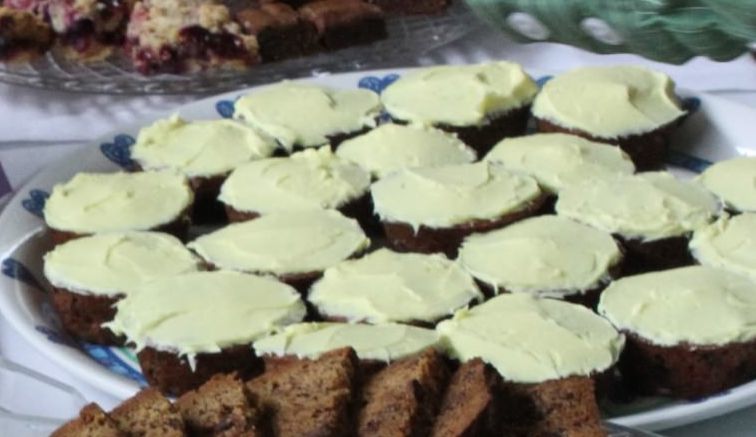
Applesauce Raisin Cake or Muffins
Dori Conn
This was my dad’s favorite birthday cake. He first tasted it during medical school when the woman who owned his boarding house served it. My mom, his fiancé at the time, wrote to request the recipe in order to surprise my dad with it. When she made it she doubled the amount of raisins. I grew up thinking this was the classic birthday cake. The first time I made it for my then husband-to-be (EPL Readers Advisor Jeff Balch), he was surprised because it’s more like a coffee cake. Our grown daughter requests it every time she comes home.
Ingredients
- 1 c. sugar
- 1 c. butter or margarine
- 1 (15 oz.) jar unsweetened applesauce (if you have less than a full jar, 1 ½ c. suffices)
- 2 c. flour
- 1 tsp. baking soda
- 1 tsp. cinnamon
- 1 ½ c. raisins (This is the doubled amount.)
Optional lemon frosting *
- 4 c. confectioners’ sugar (or more as needed)
- 3/4 c. butter, softened
- 1/2 c. milk
- 2 Tb. vanilla extract
- 2 Tb. lemon juice
- 1 pinch lemon zest (or more to taste)
Preparation
Cake
- Preheat oven to 350°.
- Prepare one 13 x 9 cake pan, or two round cake pans (8 or 9 inch), or line three 6-cup cupcake pans.
- Cream together sugar and shortening.
- Stir in applesauce.
- Combine flour, soda, and cinnamon.
- Stir this dry mixture into the applesauce mix. Stir in raisins.
- Pour into pans (or spoon into muffin cups). Bake at 350° (around 30 minutes for sheet, 25 min. for round pans, 20 min. for cupcakes) until inserted toothpick comes out clean. Tops may look shiny.
Frosting
- Beat confectioners’ sugar, butter and milk together in a bowl until desired consistency is reached.
- Add vanilla extract and beat until smooth. Add lemon juice and lemon zest; beat until smooth and thick.
* If you have store-bought lemon juice on hand, that works great too — and orange, clementine, or lime juice, or just plain vanilla instead of lemon would be delicious too!
*
Katharine Hepburn’s Brownie Recipe
- 2 oz. (2 squares) unsweetened chocolate (I use semi-sweet)
- 1/2 c. (1 stick) unsalted butter
- 1 c. sugar
- 2 large eggs, lightly beaten
- 1/2 tsp. vanilla extract
- 1/4 c. all-purpose flour
- 1/4 tsp. salt
- 1 c. coarsely chopped walnuts – optional
Preparation
- Preheat oven to 325º.
- Butter and flour an 8” square baking pan (I use parchment paper in the pan as opposed to the butter and flour– you’ll never get the brownies out otherwise).
- Melt chocolate with the butter in a saucepan over low heat.
- Remove from heat and stir in the sugar.
- Stir in the eggs and vanilla and mix until smooth.
- Add the flour, salt, and nuts, and stir until smooth.
- Pour on top of the parchment paper in the pan.
- Bake until a toothpick inserted in the center of the brownies comes out clean, 33-40 minutes.
*
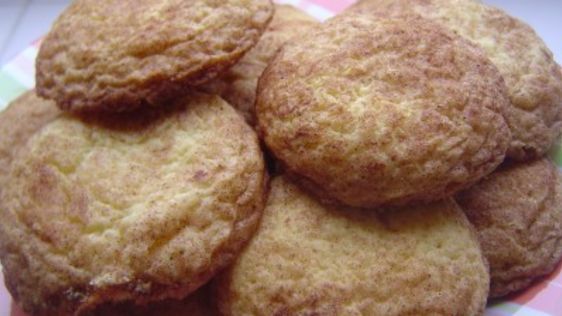
Snickerdoodles
Marsha Peterson-Maass
- 1/2 lb. salted butter
- 1 ¼ c. sugar (or Splenda)
- 3 eggs
- 1 tsp. vanilla extract
- 2 ¾ c. all-purpose flour
- 1/4 c. powdered milk
- 1 ½ tsp. Cream of Tartar
- 1 tsp. baking soda
- Cinnamon Sugar Topping – combine 1 tsp. ground Cinnamon with 1/8 c. sugar or Splenda
- Heat the oven to 375°.
- Cream the butter and sugar in a stand mixer with the paddle attachment.
- Mix in the eggs and vanilla extract until combined.
- Mix in the flour, powdered milk, Cream of Tartar and baking soda and mix until the ingredients have the consistency of cookie dough.
- Divide the cookie dough into 8 pieces and roll into balls.
- Combine the Cinnamon Sugar Topping in a small bowl.
- Lightly coat the top and sides of the 8 balls, then place on a non-stick cookie sheet. (If you coat the entire ball, they may burn on the bottom.)
- Bake for about 12 minutes.
- Let the cookies cool for 5 minutes before removing.
While there’s a high likelihood of all 8 cookies being devoured immediately, store any that remain in your favorite cookie tin.
*
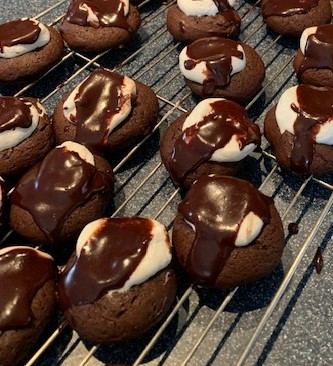
Sylvia’s Cuckoo Cookies
- 1 ¾ c. sifted flour
- 1/2 c. Dutch process unsweetened cocoa powder
- 1/2 tsp. baking soda
- 1 stick (1/2 c.) butter, at room temperature
- 1 c. sugar
- 1 egg
- 1 tsp. vanilla
- 1/2 c. milk
- 26 marshmallows, cut in half
- 1 ½ c. confectioners’ sugar
- 1/2 c. Dutch process cocoa powder
- 3 to 4 Tb. hot water
- 1/3 c. melted butter
- Heat oven to 375°.
- Sift flour, cocoa powder and baking soda together in a medium bowl and set aside.
- Cream the butter in a large bowl with a mixer until light and fluffy, 2 minutes.
- Add sugar, and beat until pale.
- Beat in the egg until smooth, about 2 minutes, and then beat in the vanilla.
- Beat in the flour mixture alternately with the milk, and mix until smooth.
- Drop teaspoonfuls of the dough onto a parchment-lined cookie sheet, and bake for 7 minutes.
- Remove the cookies from the oven and press 1/2 of a marshmallow into the center of each cookie.
- Return the cookies to the oven and bake an additional 2 minutes; then remove from the oven.
- Meanwhile, for the glaze, sift the confectioners’ sugar and cocoa powder together in a medium bowl.
- Whisk in 3 tablespoons of the hot water.
- Whisk in the melted butter until smooth, adding more hot water if needed to make a smooth glaze.
- Immediately spoon or drizzle the chocolate glaze over each cookies.
- Transfer to a wire rack to cool.
*
Coconut Meringues
Joan Naper
This is a feel-good recipe that is easy to make and delicious. I have to restrain myself from making them too often, because I eat too much of the batter as well as the cookies. My older sister loves these too, and I tell myself I’m making them just for her. That way I don’t eat the whole batch. Be careful: they’re very sweet and rather addictive!
(Joan is a volunteer at the library.)

Ingredients
- 1 c. sugar, sifted
- 1 tsp. vanilla
- 1 ¼ c. coconut
- 3 egg whites
- 1/8 tsp. salt
Preparation
- Preheat the oven to 300º.
- Beat the egg whites and salt until the whites are stiff.
- Add the sugar slowly, beating constantly.
- Gently fold in the vanilla and coconut.
- Drop the batter from a teaspoon onto a greased (or parchment-covered) cookie sheet.
- Bake for 30 minutes (or less) until the cookies are firm, but not browned.
*
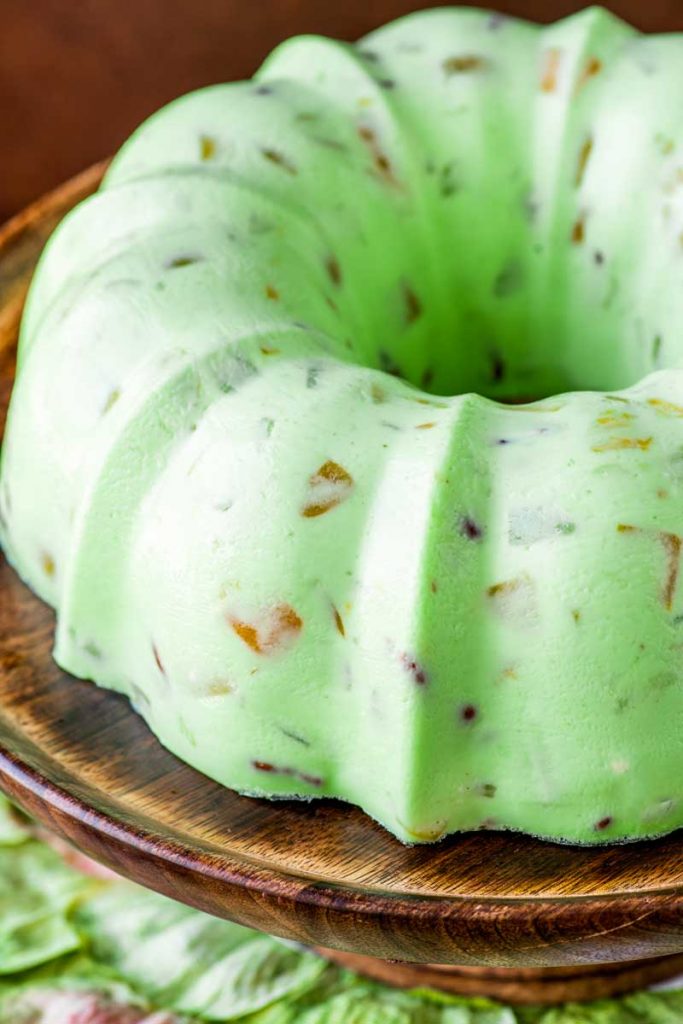
Hawaiian Jello Salad
Debbie Jung
Ingredients
- 1 large package orange or lime jello (I use orange jello at Halloween and lime jello at Christmas time)
- 1 ½ c. water
- 1 large package lemon flavor jello
- 1 jar maraschino cherries, whole or chopped in half
- 1 large tub whipped topping like Cool Whip
- 1 can of crushed pineapple ( drained)
- 3 cans mandarin oranges (drained), 15 oz
Preparation
- Dissolve the jello in boiling water and let it set until it almost thickens.
- Add the pineapple, oranges, and cherries and then fold in the whipped topping.
- Refrigerate for 30 minutes or until firm.
*
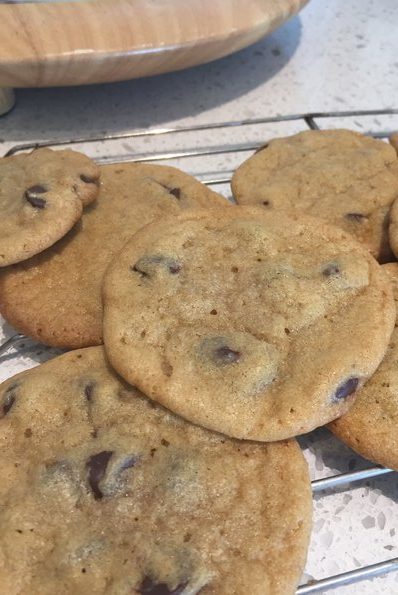
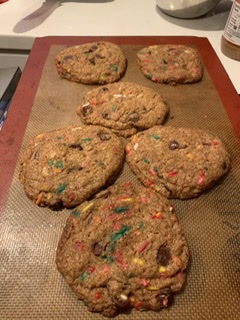
Chocolate Chip Cookies
Laura Llano
This is such a wonderful recipe, it makes the best chocolate chip cookies ever and is super easy to make! Our daughter Sofia learned this recipe while at a summer camp at Gather in Evanston with then owner Angela Lyonsmith and chef Mamata Reddy.
You can even experiment with adding sprinkles as we did in the picture, nuts or coconut if you’d like. Our daughters Sofia and Fiona love to enjoy these right out of the oven, fresh hot and delicious! It’s our perfect comfort food.
Ingredients
- 1 stick (1/2 c.) unsalted butter, melted and cooled to room temperature
- 1/2 c. packed light brown sugar
- 1/3 c. granulated white sugar
- 1 large egg
- 1/2 tsp. vanilla extract
- 1 ¼ c. all-purpose flour , spooned and swept
- 1/2 tsp. salt
- 1/2 tsp. baking soda
- 1/3 c. semisweet chocolate chips
- 1/3 c. milk chocolate chips
- 1/3 c. white chocolate chips
Preparation
- Pour the melted butter into a large mixing bowl.
- Stir in the brown and white sugars, egg, and vanilla.
- In a separate bowl, mix together the flour, salt, and baking soda. Add to the sugar-egg mixture and mix well.
- Stir in the chips.
- Bake in a 350º oven for 8-10 minutes until light brown.
*
Lemon Squares
John Lyman
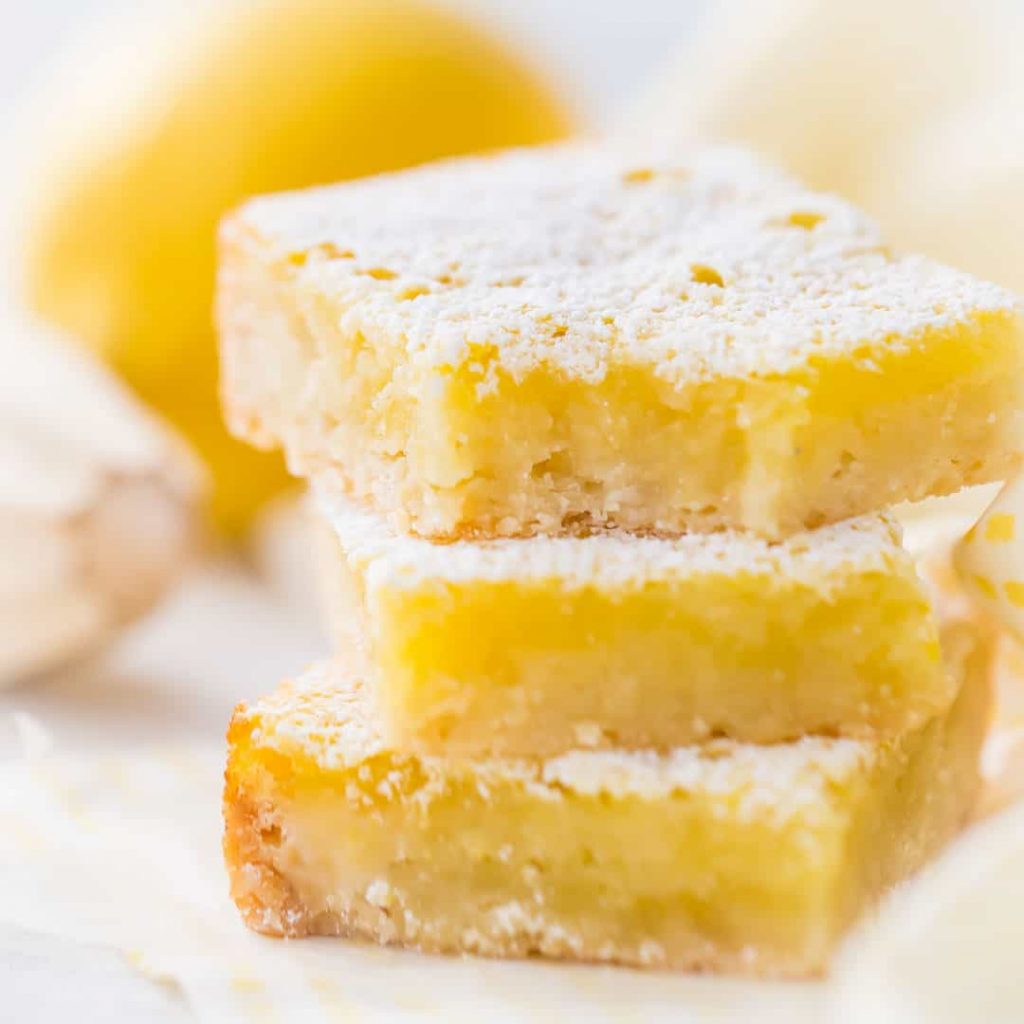
- 1/2 c. butter
- 1/4 c. powdered sugar
- 1 c. sifted flour
- 2 eggs
- 1 c. sugar
- juice from one lemon
- rind from one lemon, grated
- 2 Tb. flour
- Combine the cup of flour with the powdered sugar and cut in the butter until fine crumbs form.
- Pat the flour mixture into an 8 x 8 inch square pan and bake in a 350º oven for 20 minutes.
- Meanwhile, beat the eggs with the sugar, lemon juice, one tablespoon of flour, and the lemon rind.
- Pour the mixture over the crust and return to the oven. Bake for 20 more minutes.
- Remove the cookies from the oven and immediately sprinkle the surface with powdered sugar.
- Cool and cut into 16 squares.
*
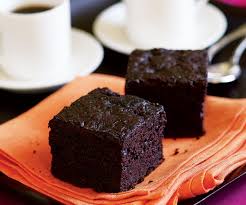
Easy Coffee Chocolate Cake
Ann Lyman
This recipe is for my favorite chocolate cake. My mother used to bake it and I got the recipe from her. I believe it came from an advertisement in the 1950’s.
Ingredients
- 1/2 c. butter
- 2 c. sugar
- 1 c. hot coffee
- 3/4 c. cocoa powder
- 1/2 c. buttermilk
- 1 ½ tsp. baking soda
- 2 Tb. water
- 2 eggs
- 2 c. flour
- 1/2 tsp. salt
- 1/2 tsp. vanilla
Preparation
- Cream butter and sugar.
- Dissolve cocoa in hot coffee.
- Dissolve baking soda in water. and add to buttermilk.
- Add eggs to creamed mixture and beat.
- Add vanilla.
- Whisk salt into flour.
- Alternate adding flour mixture and liquids to creamed mixture. Batter will be thin.
- Pour into greased 9″ pan. Bake at 350º for 45 -50 minutes.
Serve topped with whipped cream.
*
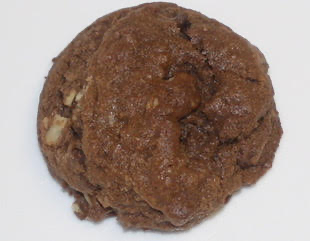
Triple Chocolate Walnut Cookies
Emily Dugan
My Triple Chocolate Walnut Cookies bring me comfort and are special to me because they are award winning. In 2010, I won second place in the Chicago Tribune Cookie contest with this treat. The third chocolate in the name is for chocolate extract, which is the secret ingredient in any chocolate dessert I make. The Spice House in North Evanston has the best and rumor has it, after this recipe was published in the Tribune, they sold more chocolate extract than they had the entire year. These are best enjoyed warm out of the oven with a hot cup of coffee or tea.
Ingredients:
- 2 ¼ c. flour
- 1/2 c. cocoa
- 1 tsp. baking soda
- 1/2 tsp. salt
- 2 sticks (1 c.) softened butter
- 1 c. firmly packed brown sugar
- 3/4 c. white sugar
- 2 eggs
- 1 tsp. chocolate extract
- 2 c. semi-sweet chocolate chips
- 1 c. chopped walnuts
Preparation
- Preheat oven to 350°.
- Mix together the flour, cocoa, baking soda and salt in a medium bowl and set aside.
- Mix the butter and sugars by hand or with a mixer until blended. Add the eggs one at a time along with the chocolate extract.
- Add half the flour mixture to the butter/sugar mixture. Mix well, then add the remaining half of the flour mixture.
- Stir in the chocolate chips and walnuts.
- Scoop the dough with a small ice-cream scoop or tablespoon measure onto a silicone mat or parchment paper lined cookie sheet.
- Bake until lightly browned on the bottom, 12-14 minutes. Let cool for 2 minutes on the cookie sheet, then transfer to a wire rack to cool completely.
*
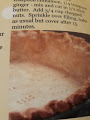
Easy Pie Crust
Kit Sullivan
This is for a no-fail, works every time, a child-can-do-it pie crust. I learned it from my mother when I was a child (circa 1957 or so), who learned it from her family cook. My mother didn’t enjoy cooking but knew that this was a hit with everyone.
- 1 ½ c. flour
- 1 ½ tsp. sugar
- 1 tsp. salt
- 1/2 c. vegetable oil
- 3 Tb. milk or cream
- In a pie pan, combine the flour, sugar and salt. Mix together and make a “well” in the middle of the pan. (Push the mixture away from the middle).
- Mix the vegetable oil and milk or cream until well blended.
- Pour the liquid mixture into the well you made in the flour and mix it all together.
- Push the dough into the bottom and sides of the pie pan and use a fork to make a design on the edges or pinch the crust together to make little peaks.
- Bake as usual depending on the recipe. If you are making a savory pie, just decrease the sugar.
*
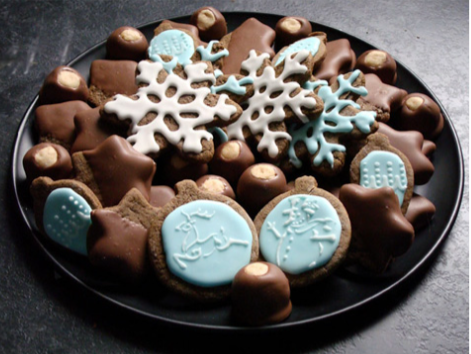
Blood Orange and Bourbon Gingerbread Cookies (with bonus Buckeyes recipe)
Kristin Yates Thomas
These cookies are our family tradition, and every year, I make at least 30 dozen of them, and often more. But I don’t keep them – well, I don’t keep most of them! I give them away, and over the years, they’ve gone to neighbours, to friends, to my local beat cop, the firehouse up the street, to homeless and domestic violence shelters, to my students and my graduate school cohorts, to the adults at my kids’ schools, to Ronald McDonald house, to my dog groomer, to holiday potlucks and to anyone a little down on their luck. I’ve given them to best friends, and to perfect strangers. There is so much love in baking; so much magic. And we could all use a little more of both in our lives.
Ingredients
For the gingerbread
- 3 ¼ c. sifted all-purpose flour
- 3/4 tsp. baking soda
- 3/4 c. (1 ½ sticks) unsalted butter (room temperature, softened)
- 1/2 c. dark-brown sugar, packed
- 2 tsp. ground ginger
- 2 tsp. ground cinnamon
- 1/2 tsp. ground cloves *optional – I usually increase the cinnamon a bit and skip this
- scant 1/4 tsp. ground nutmeg
- 1/4 tsp. finely ground black pepper * I go less than this, personally
- 1/2 tsp. salt
- 1 tsp. Blood Orange Extract
- 1 large egg
- 1/2 c. unsulfured molasses
- 1 generous pour of bourbon, in a rocks glass.
Preparation
- In a large bowl, sift together the flour, baking soda, and spices. Adding a little extra flour makes these cookies very soft. Set this bowl aside.
- According to the official recipe, in an electric mixer fitted with the paddle attachment, cream the butter. I do my mixing by hand, because I am a martyr and it gives me something extra to complain about during the holidays.
- Add sugar and beat until fluffy. Mix in eggs and molasses, and blood orange extract.
- Gradually add the flour mixture; combine on low speed, or if you are mixing by hand, stir at slow speed. Not that you would be able to stir this fast, because this is a serious workout. (You may need to work it with your hands to incorporate the last bit of flour, if you are using a Kitchenaid, like a normal person.)
- Divide the dough in thirds; shape the thirds into flat bricks, and wrap each third in plastic. Chill for at least 1 hour-2 hours. Before rolling out, let sit at room temperature for a few minutes. If after refrigerating the dough feels too soft to roll-out, work in a little more flour.
- Heat the oven to 350°. I have a large wooden board that I use to roll my cookies out on, which I cover with flour – a cutting board would work well too. Using a rolling pin, roll dough – not too thin – I usually do mine about half to three quarters of a centimeter.
- Once rolled out, but before you cut them out, take some bourbon on your hands, and gently pat the top of the rolled-out dough. Use a cookie cutter to cut into desired shapes. For extra flavor, dip the edge of the cookie cutter in bourbon.
- Transfer to baking sheets covered with parchment paper, or a silicone baking sheet. Bake about 6-8 minutes for smaller cookies, and about 10-12 for larger ones. Remove from oven while they are still soft, and let the cookies sit on the cookie sheet on top of the oven for a few minutes more to set. Move to a wire rack to cool completely.
- Drink the rest of the bourbon.
How to finish them off? You have two options:
Option One: Royal Icing
(Makes 2-1/3 cups)
▪ 1 one-pound box (about 4 cups) confectioners’ sugar
Preparation
- With a hand mixer, combine the confectioners’ sugar and meringue powder or egg whites.
- Mixing on low speed, add flavoring extract, and then a scant 1/2 cup water drop by drop. For a thinner consistency, usually used for flooding, add more water. A thicker consistency is generally used for further embellishing.
- Mix until icing holds a ribbon-like trail on the surface for five seconds when you raise the paddle.
** some people make icing with egg whites, but there are a lot of people (the pregnant, immuno-compromised, etc) who cannot eat raw eggs, so in the interest of not asking random acquaintances about the current contents of their uterus, I opt for meringue powder.
Fancy Decorating: Colour your icing with food colouring. Pour into a piping bag and go nuts with the fancy designs. Give yourself a repetitive strain injury icing cookies, like I did. Knock yourself out.
Normal People Decorating: Colour your icing with food colouring. Pour into cereal bowls, and dip the cookies in, top-first. Then let the kids throw a million sprinkles and edible glitter on them to their hearts’ content, because not every moment in life has to be perfectly Instagrammable.
Option Two: Chocolate dipped cookies.
(this is ridiculously easy but looks super-professional)
- Melt the chocolate over very low heat
- Dip each cookie in until it is half-covered, then put on a parchment-covered countertop to harden. Takes about an hour.
Bonus Recipe! Buckeyes
Buckeyes with gingerbread are a pretty heavenly combination, but also, this is a great way to use up the extra melted chocolate. This makes a huge amount of Buckeyes: feel free to halve it.
Ingredients
- 1 ½ cups peanut butter
- 1 c. butter, softened
- 1/2 tsp. vanilla extract
- 6 c. confectioner’s sugar
- In a large bowl, mix together the peanut butter, butter, vanilla and confectioners’ sugar. The dough will look dry.
- Roll into 1 inch balls and place on a waxed paper-lined cookie sheet.
- Press a toothpick into the top of each ball (to be used later as the handle for dipping) and chill in freezer until firm, about 30 minutes.
- Dip frozen peanut butter balls in chocolate holding onto the toothpick. Leave a small portion of peanut butter showing at the top to make them look like Buckeyes. Put back on the cookie sheet until the chocolate hardens, then pull the toothpicks out and smooth out the hole they left behind.